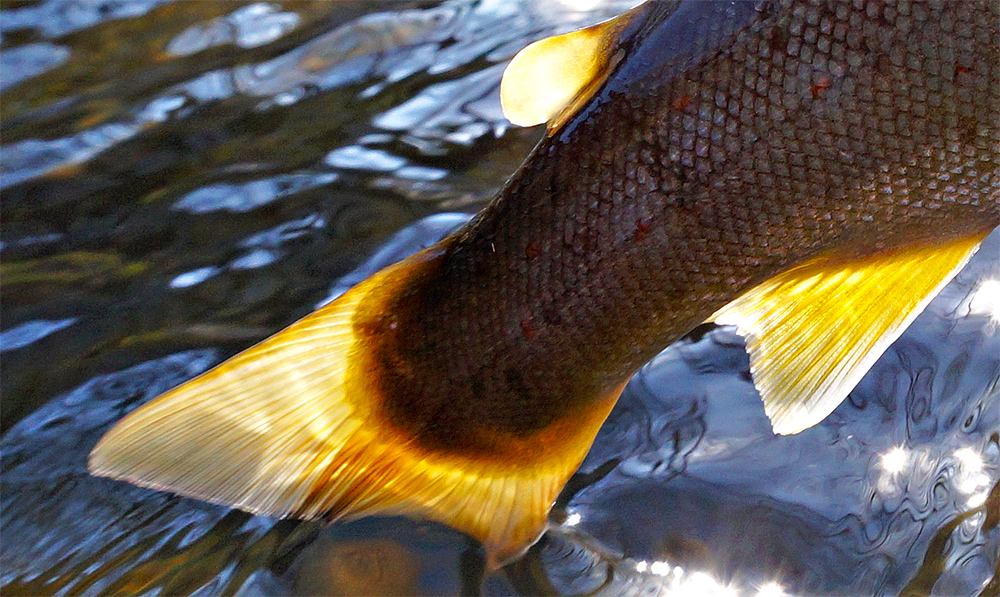
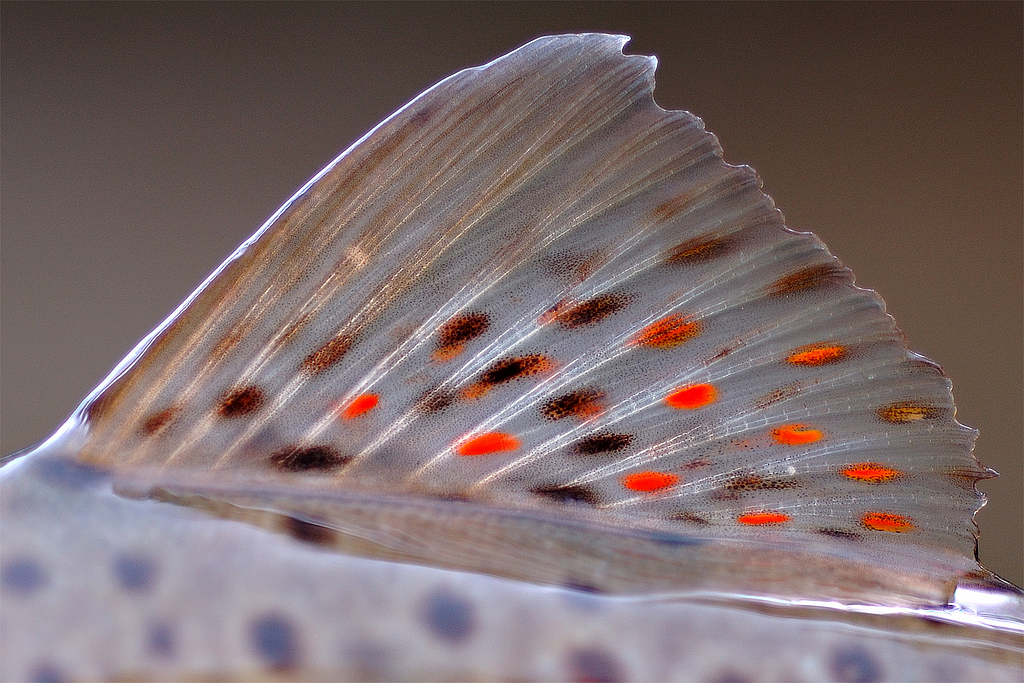
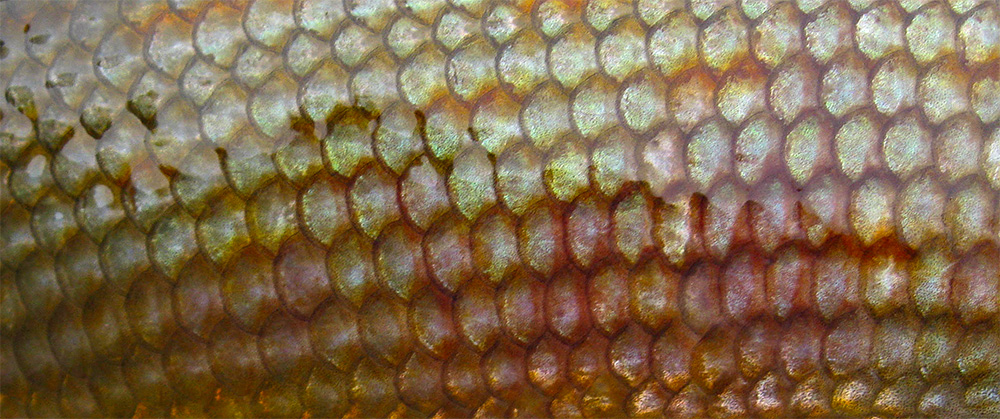
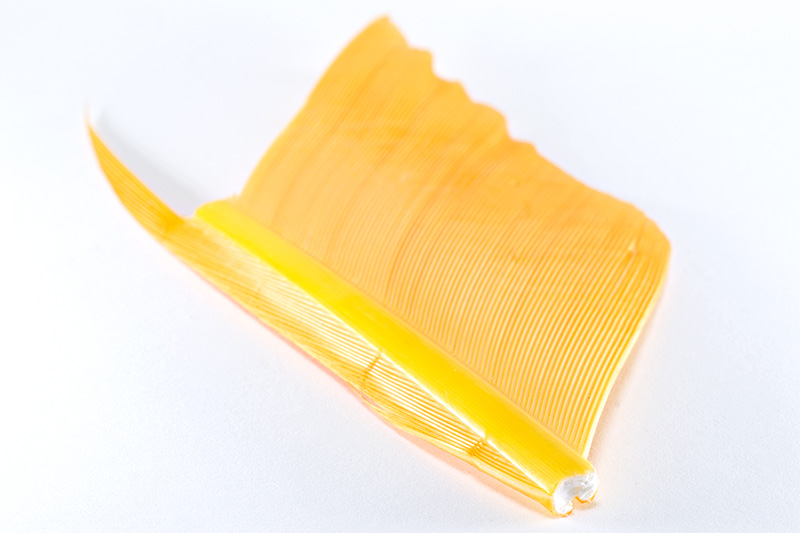
I like to share with you guys a few photos and crops of fish caught in my years of fishing. I will update these photos all the time.
I noticed that colors of fish from deep lakes and from water with dark bottom are more intense and more nicely colored.
I hope you like them 
Monthly Archives: August 2015
Tie Better your flies no.2 – biots and herls for bodies
“Tie Better your flies no.2 – biots and herls for bodies” is the second article dedicated for beginners. It is about biots and herls used with great results by some tiers but not so used and appreciated like should be by the mass of fly tiers.
On the market you’ll find different types of biots. Based on my knowledge, in fly tying world the most rare biots and herls are from condor eagle and harpy eagle. Those who have a few feathers from these birds are very lucky because these birds are world wide protected. These biots and herls are appreciated because are very long and wide compared with others. For this reason we replace them with feathers from big parrots, peacock, swam, pelican, heron and so on. Most used biots are from turkey also sold as a condor substitute. Goose biots an duck biots are used also but especially for tails or making small bodies or legs for realistic flies.
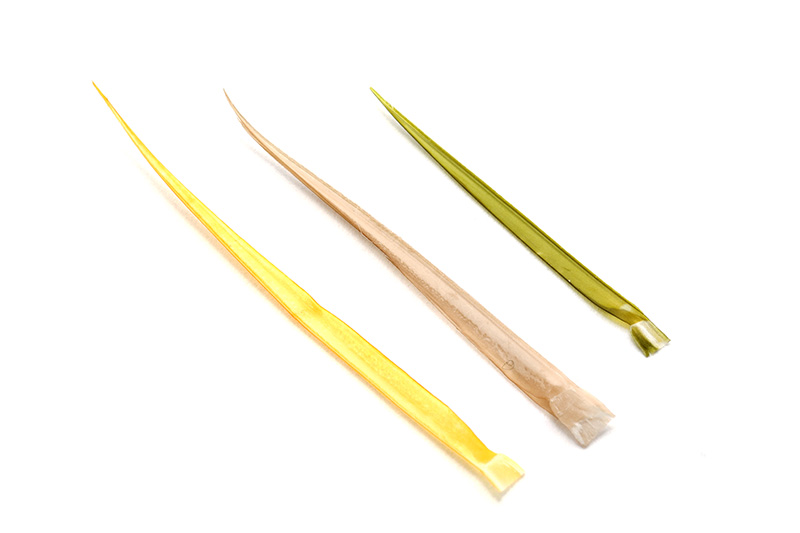
Bellow is a photo with 3 biots from 3 types of birds that I like to use. Unfortunately I never had the chance to use condor biots to show you how they looks. A great french tier : Jean Paul Dessaigne used this material on his website: http://www.jpdessaigne.com/
Yellow one is from Devaux (they keep a secret about the origin of these feathers).
Cream is from Peacock male.
Olive is from Turkey.
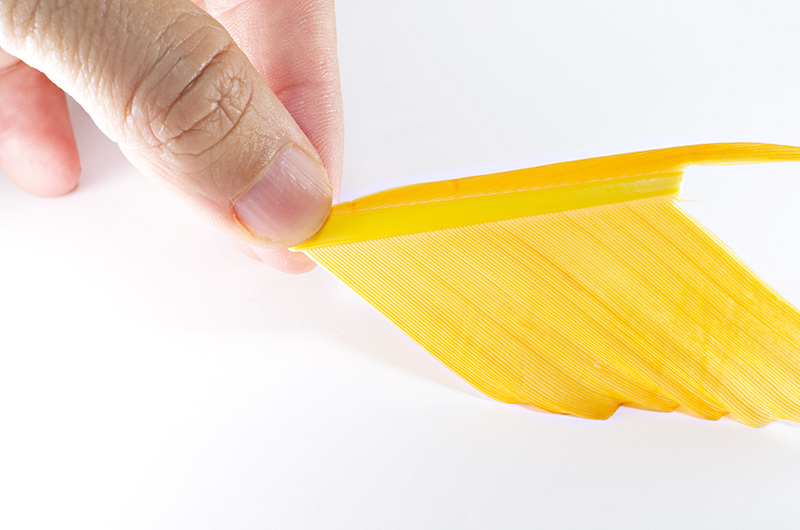
For beginners in tying: biots are those barbs from primal feathers.These barbs are situated on the front part of these feathers and are positioned in angle compared with the stem and are more wider and stronger than other type of barbs. On the opposite part of the stem you will find long nice barbs, perfect for making bodies and are called also herls. Compared with other barbs from other feathers biots and hears from primal feathers are stiffer, longer, wider and are different in structure regarding translucency: one half is more opaque than other part.
In these photos I used biots from Mouche Devaux Champagnole France called Devaux Condor Substitute. These are the best from what I used and I really enjoy tying with these feathers. Those feathers are sold in segments and contain plenty of long barbs/herls and long biots. Are hand selected and hand dyed.
Now lets talk a little bit about structure of the barbs and what is important for a tier:
-When we make a body we are looking for consistency in order to obtain a nice segmentation. Herls and biots will give you the possibility to make long and nice bodies. Also due the special structure and transparency will give you nice and interesting colors in gradient tones.
The difference between a herl and a biot is that a biot will let you to make a better and more evident body segmentation but not very long. The herl type will let you to make longer bodies but the segmentation is not so evident compared with a body made of biot.
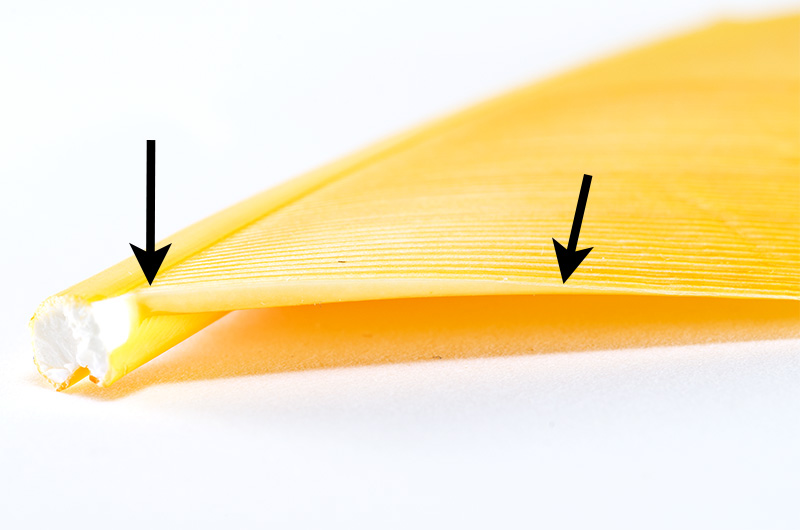
– for example you can see bellow that the good part of the barb is the zone between those 2 black arrows. The rest of it is not good, only for fixing with thread.
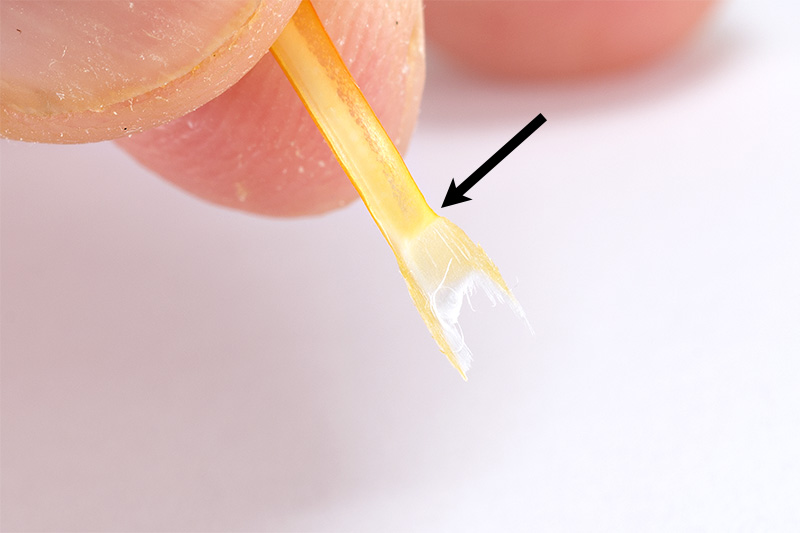
– in the case of a a biot the shape is triangular and the wider part is more longer compared with a classic barb:
So in a lot of situations a biot is better than a herl. If the feather is big like these ones from Devaux you can do the same body with the herl and the biot because these barbs are wider compared with others.
Tying with herls and biots:
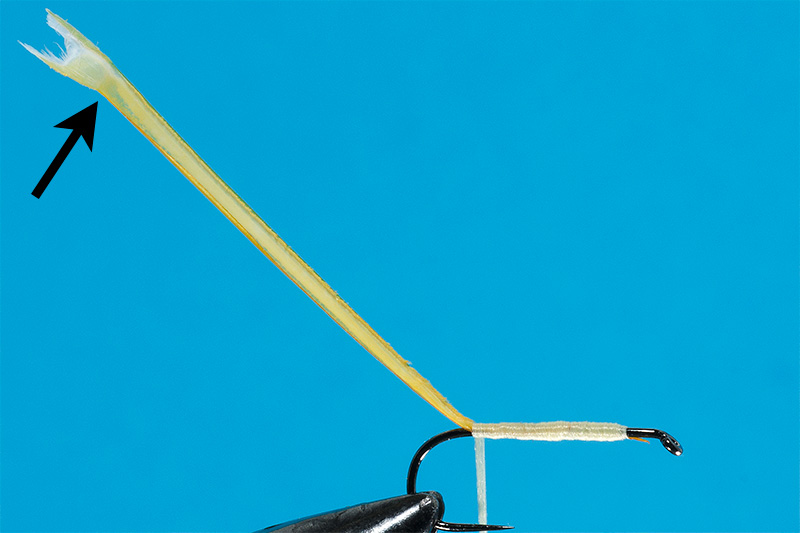
-when you strip the barb from the stem of the feather you will notice that the structure is not symmetrical. The base is transparent and the upper part is more opaque. Also you’ll see a small gap at the base . This gap is a reference for us in tying process.
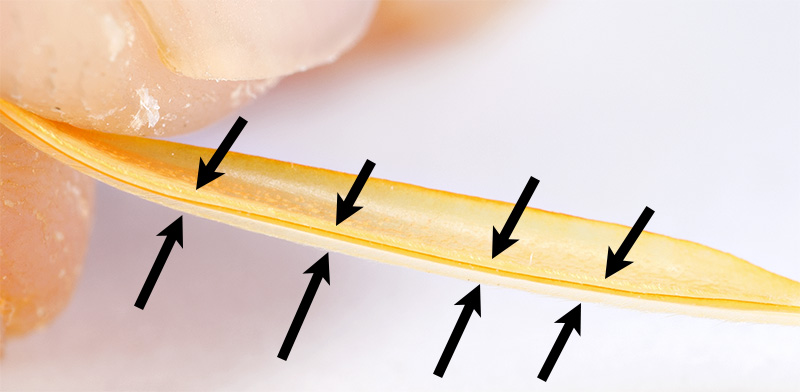
The opposite part of the gap is not so transparent and in section has a “T” shape. The barb has a small fin/burr. This fin will provide you a very nice segmentation and you can see it in the photo bellow between arrows:
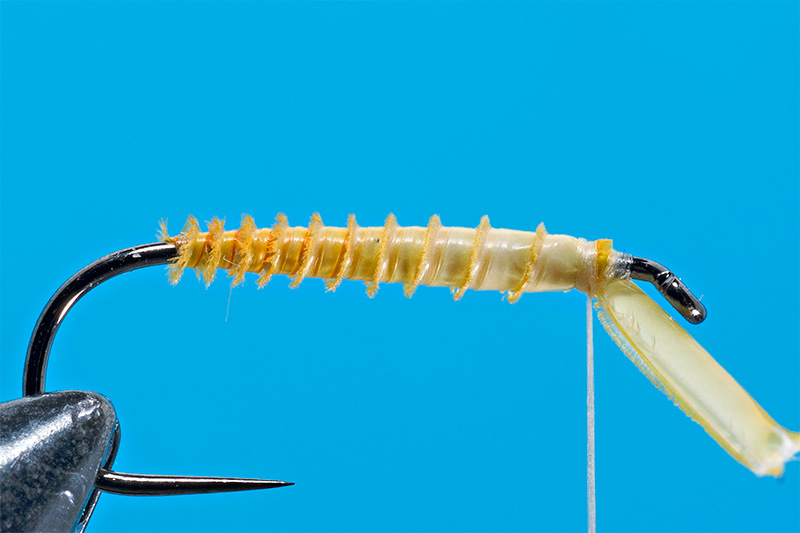
Now here is a body made with a biot with the gap fixed down. At the first turn the gap will be orientated up.
The body will look like this:
In the photo the turns are closer and you can see it very well the body. If you make a rare turns, the body of the fly will look like this one bellow:
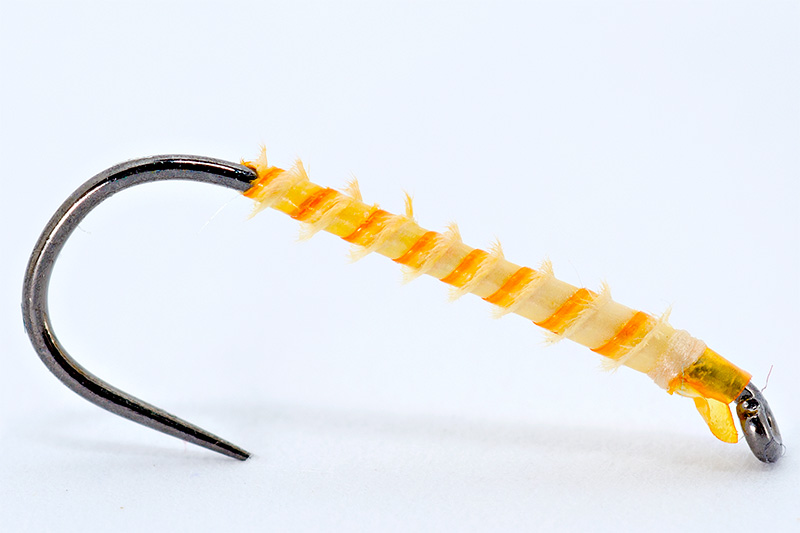
This type of body is great for midges and very small and delicate flies. Also the colors are very nice and you can see how beautiful are the tones of the body. Perfect for buzzers and emergers!
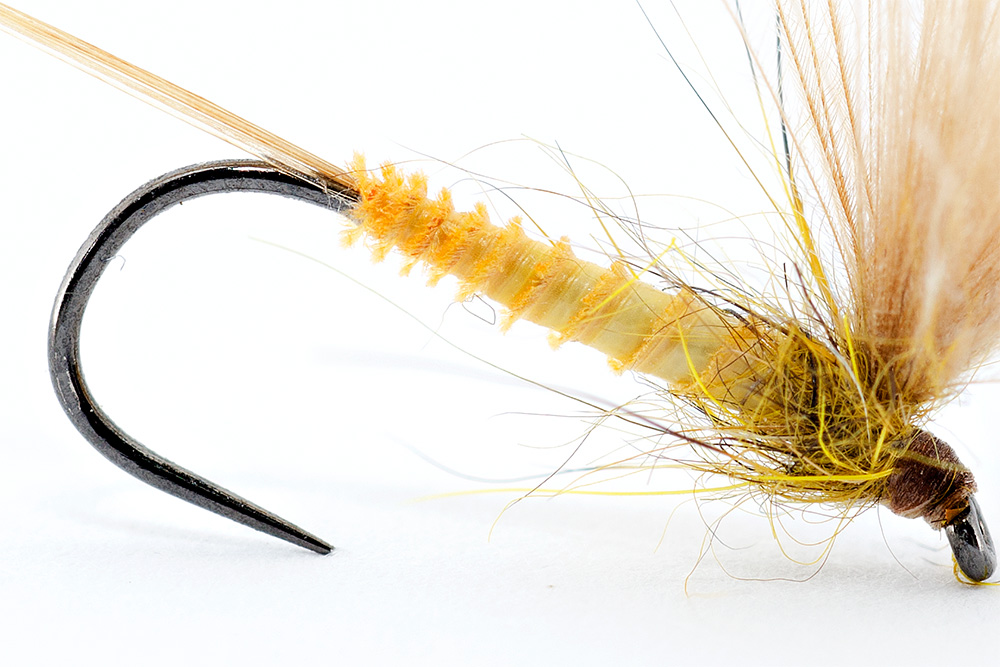
Another way to tie a body is to fix the barb with the gap in the upper position, after first turn the gap will be orientated down and the fly will look smooth like in the photo bellow:
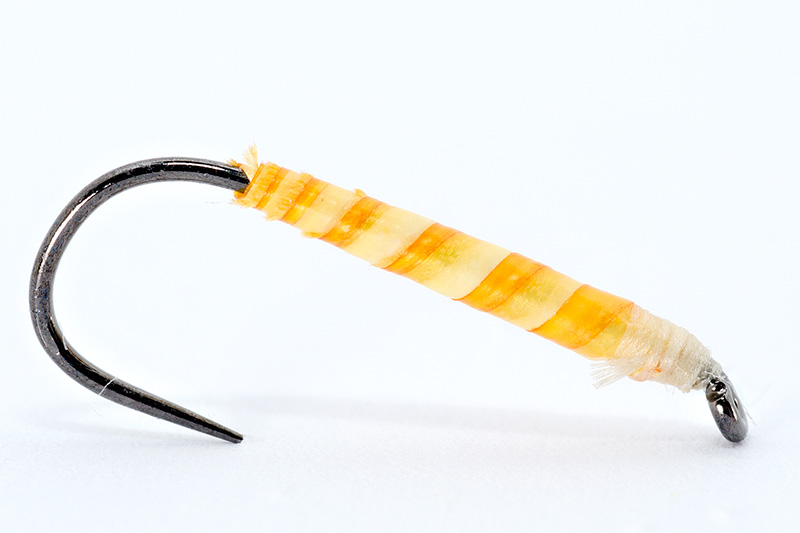
More closer in imitation to dun flies, spinners and mayflies.
I prefer to work with this material instead of others ( peacock quill for example ) because you can tie bodies very easy and fast even on hooks in size #12 and #10. The material is very resistant and can be colored like you want.
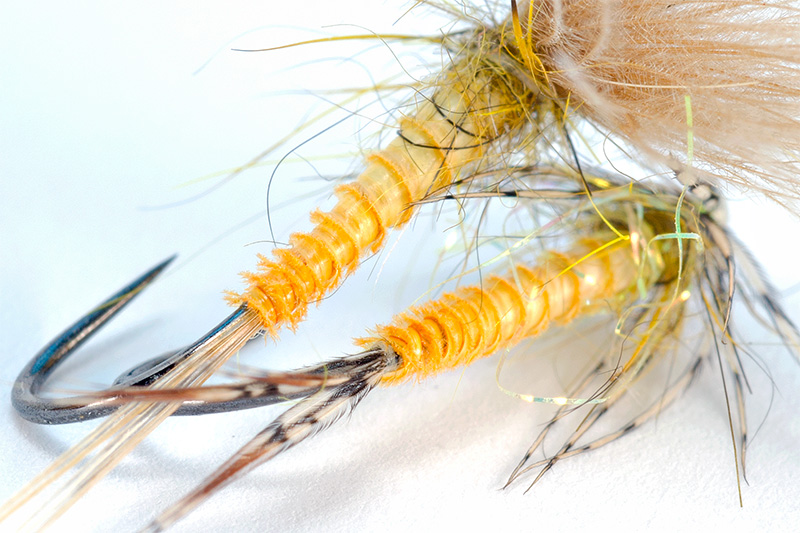
if you have questions feel free to ask 
cheers
Lucian

